If you played Megabonk more than once, then you were bound to notice that wretched leaderboard with all the best scores. It showcases the score, name of the player, and what character they used to get it. The thing that happens next is you press play and pick the same character and you end up having the same score as usual or even worse. So you’re probably confused and wondering what you are doing wrong. So without further ado, here is everything that you need to know in order to make your runs leaderboard worthy:
Unlock your weapon and tomes slots
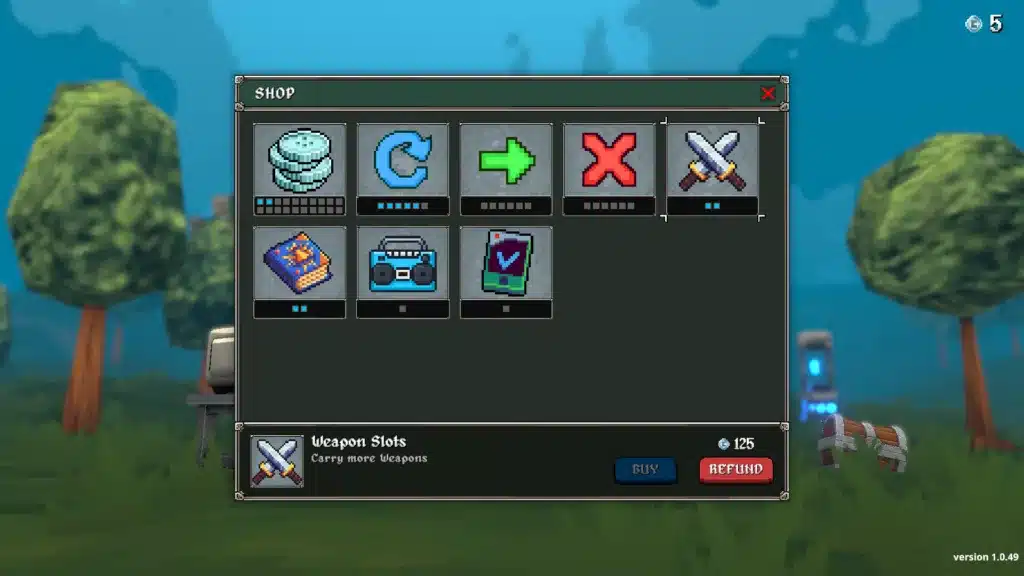
If you think you can get high scores with just two weapons or tomes, think again. It’s practically impossible to do. So before you even start thinking about having a chance to get on the leaderboard, you’ll need to farm and unlock those slots. If you do that, you can expect your run time to triple if not even more.
Max Upgrade Your Refreshes and Banishes
By now you should know that when you level up, most of the time you won’t get what you need/want. So in order to combat that bad luck, ideally you want to refresh to see if you can get any better equipment. Also if possible stop those garbage from ever appearing again, that’s where the banish option is gold. So if you upgrade those to max, your chances for a good run increase exponentially.
Pick a character with good scaling
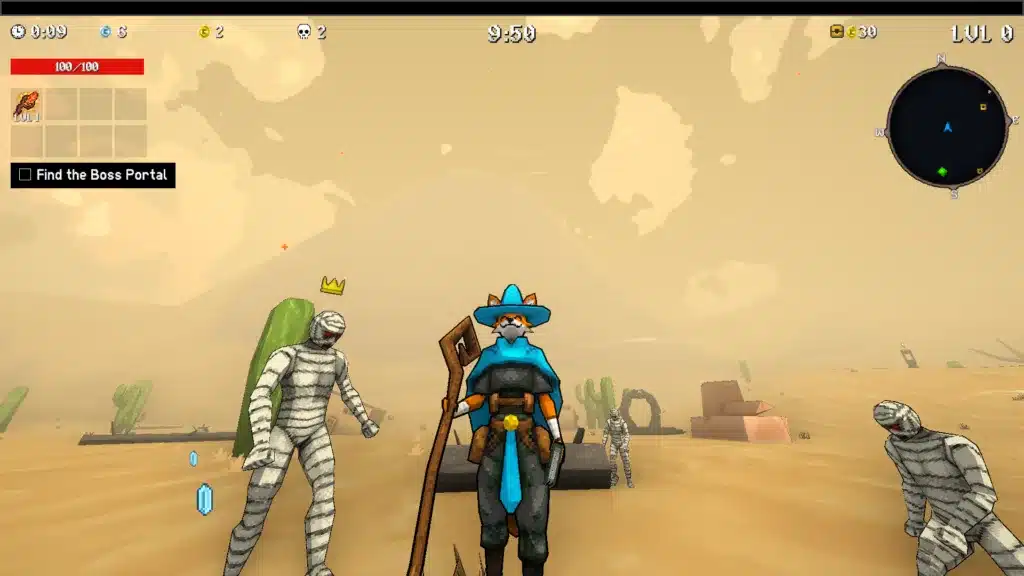
Picking a random character for fun is completely okay but if you want to get highscore, you’ll need to be more careful who you choose. Picking Noelle or Fox is more beneficial because when they level up, their luck and damage increases with each level. Take Mr. Fox for example, he gets 1.5% luck per level. It doesn’t seem like a lot but after you level him 30 times that turns into a 45% luck increase. All of a sudden your quality of equipment is so much better, you’ll be doing more damage which leads to clearing waves easier and leveling much faster.
Prioritize XP, Curse, and Difficulty tomes
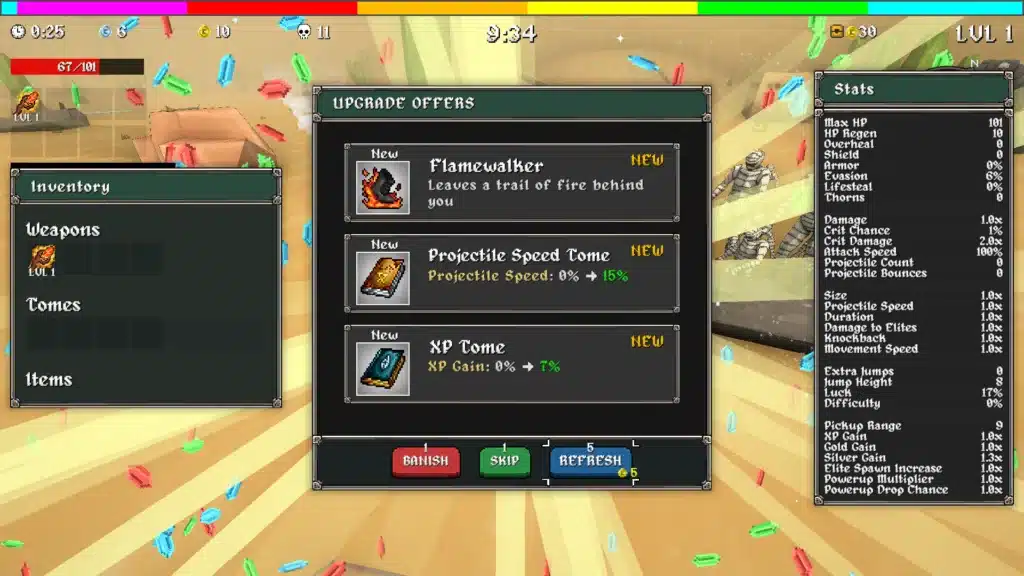
Focusing on wrong tomes is one of the biggest mistakes I was making. I was focusing on increasing my projectile count, speed, and size. You can only imagine how wrong that is. My runs were super slow and while I did clear waves, my scores were always low. It took me an embarrassingly long time till I figured what I was doing wrong. In order not to repeat my mistakes, you want to focus on XP Tome, Cursed Tome, and Chaos Tome. And the reason for it is very obvious. You want more stacked waves paired with XP boost that lead to leveling way faster which gets you more upgrades.
Master movement & positioning (circle strafe, avoid fall damage)
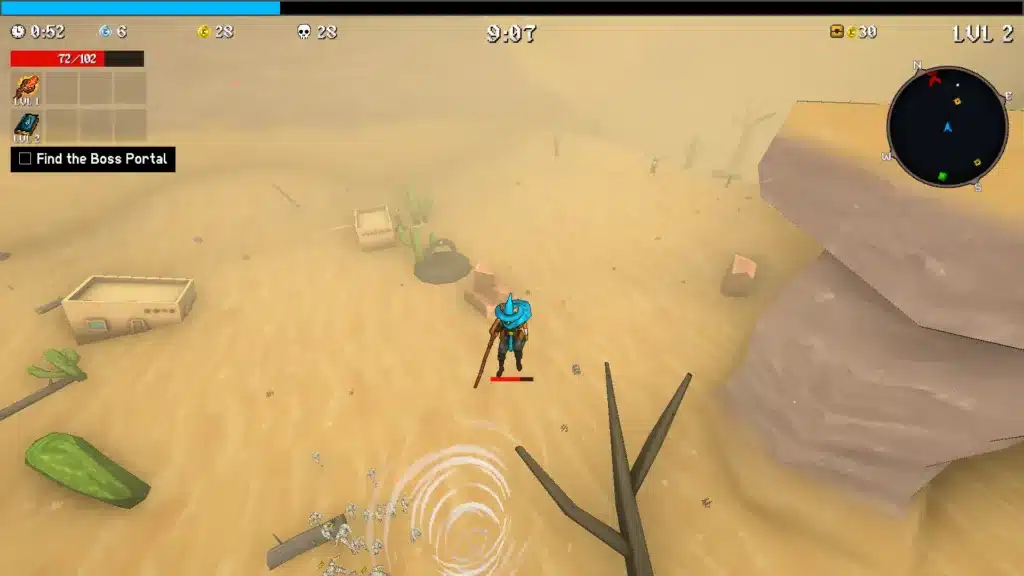
Movement is half of the game, especially in those early stages of the game. You gotta keep moving in order to survive but from what I’ve seen most beginner players make the same mistakes. They just run around without ever turning back, ignoring all the xp gems, and leaving all those juicy boxes behind. You need to use circle strafing or looping patterns to collect XP orbs efficiently while dodging attacks and not just going in a straight line. Learning map choke points is also crucial: corners and ledges allow you to funnel enemies into safer kill zones.
Activate shrines – especially Moai and Golden Charge
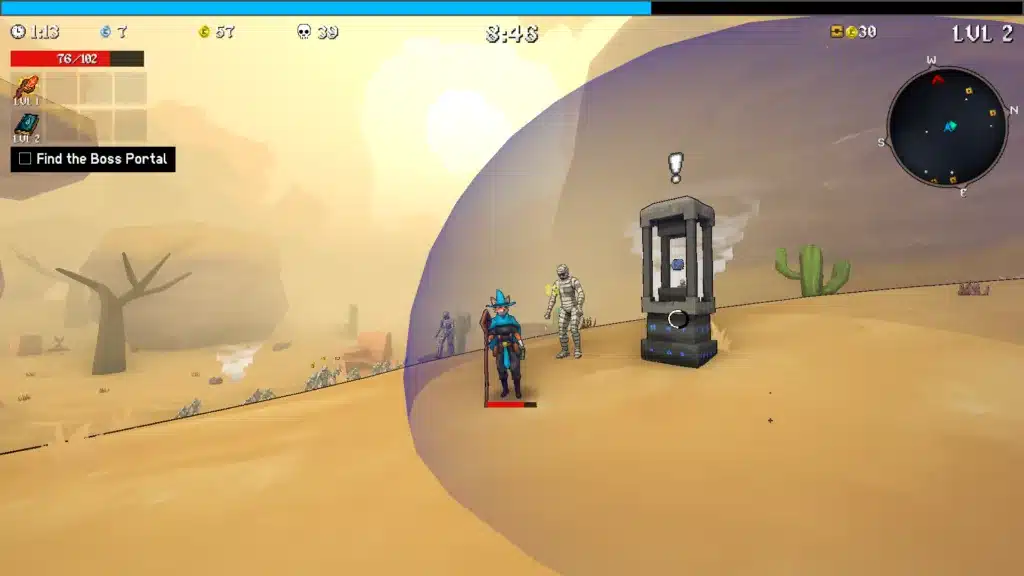
Shrines can make or break a run in Megabonk. Hitting the wrong one at the wrong time is one of the fastest ways to throw away a high-score attempt. On the flip side, using them well is how good runs turn into insane ones. Moai Shrines are the easy choice. They give you free value with no real downside, which is why most players just take them whenever they show up.
Golden Charge Shrines are a different story. These are powerful, but they’re also dangerous if you rush them. When you activate one, your build gets a big spike in power. Weapons charge faster, upgrades come online quicker, and your kill speed can jump hard. The problem is that difficulty also goes up, and if your build isn’t ready, you’ll feel it immediately. You don’t want to touch a Golden Charge Shrine early. If you’re still leveling, still fishing for core tomes, or struggling to clear enemies, it’s a bad idea. You’ll just get overwhelmed and lose the run.
The best time to activate Golden Charge is once your build already feels stable. You should have at least one strong weapon doing real work, solid movement, and some survivability to fall back on. Mid to late Stage 2 or early Stage 3 is usually the sweet spot. That’s when Golden Charge turns a good run into a high-score run.
A common pattern is grabbing Moai first for free power, then using regular Charge Shrines to speed things up, and only activating Golden Charge once the build can handle it. After that, difficulty or greed shrines make more sense because your damage is already ahead of the curve.
Farm ghosts after stage bosses → maximize XP & kills
Another grave mistake I made was rushing to the boss stage, defeating a boss and moving on to the next stage. After a stage boss goes down, the game gives you a window where ghost enemies start spawning. These ghosts are easy to kill, give solid XP, and add up fast in terms of kill count. Skipping this phase means leaving free progress on the table.
Ghosts are one of the safest ways to level up in Megabonk. They don’t hit as hard as later enemies, and they tend to spawn in predictable patterns. This lets you farm XP without putting your run at serious risk. If your build feels stable and you’re clearing ghosts without trouble, stay and farm. Let the XP pile up. This is especially important in Stage 1 and Stage 2, where a few extra levels can make a huge difference going forward. If you’re barely surviving or your damage feels weak, don’t overstay. Farm a bit, grab a couple of levels, then move on before things get out of hand.
Restart early if your drops aren’t good
Not every run is worth saving, and knowing when to restart is part of getting better at Megabonk. High-score runs aren’t about forcing bad starts to work. They’re about recognizing early when the setup just isn’t there.
If the first few minutes feel slow, that’s usually a bad sign. If you’re struggling to clear enemies, missing key tomes, or spreading upgrades thin just to survive, restarting will save you time. A good run should start to come together fairly early.
Most players restart if they don’t get important pieces like XP, Curse, or a strong weapon within the first few minutes. Without those, scaling later becomes much harder, and the run usually falls behind before it even reaches the mid game.
There’s no penalty for restarting, and there’s no shame in it either. Resetting early lets you roll for better drops and keeps your momentum going. In the long run, restarting bad runs is how you get more consistent high scores instead of grinding out runs that were doomed from the start.
RNG and Item Luck Are Huge
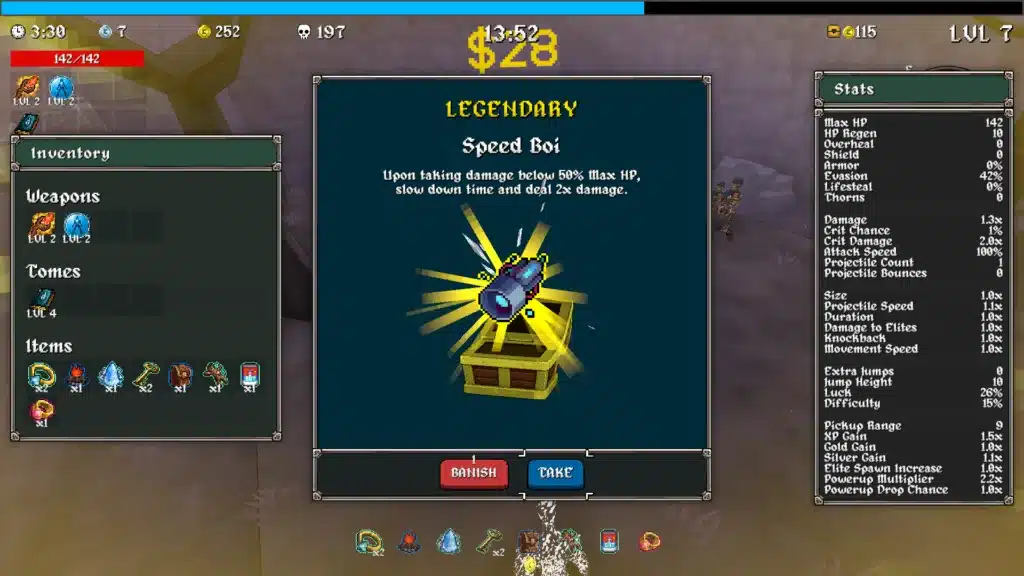
Megabonk is just as much about luck as skill. Sometimes, no matter how well you move or how good your build is, the game can throw you a curveball with bad drops. That’s RNG and it’s a big deal for high-score runs.
Item luck affects everything: the tomes you get, the weapons that show up, even how quickly your upgrades come online. High-score players know that sometimes the run isn’t lost because they play badly, it’s just bad RNG. That’s why managing item pools, using the toggler/banish system, and knowing when to restart is so important.
The key takeaway: don’t fight the RNG. Work with it. Make sure your build can survive weaker drops, and always be ready to roll again if the items don’t line up.
Conclusion
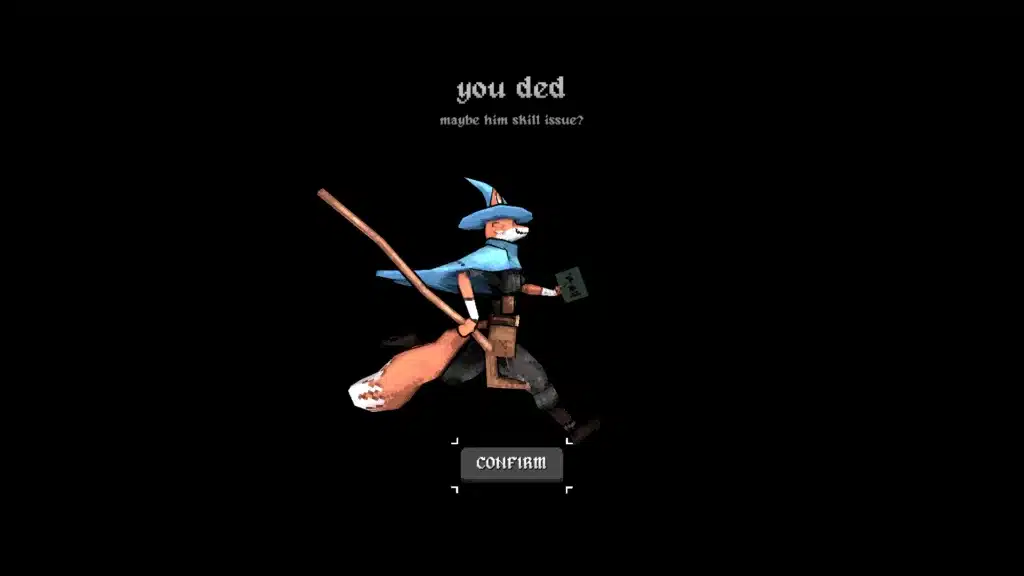
If you didn’t figure it out by now, luck plays a big part in your Megabonk runs. So even if you fail and the screen with “skills issues, maybe?” pops out, knowing that sometimes it was just bad luck and you did everything right and it’s not your fault. Also one thing I forgot to mention is that in order to get those highscores on the leaderboard you’ll need to film your runs and also beware that those runs are long. We speaking 10+ hours. It’s not for everybody that’s for sure.
Pavle is the founder of PlayForge and its lead writer and reviewer, covering PC, PS5, and mobile games, a with a focus on RPGs, MMOs, FPS games, and more. He’s been gaming since the PS2 days and now writes in-depth reviews and guides to help players find their next obsession and get gaming insights from real players, not just critics. His reviews are honest and transparent, but he always tries to stay positive, because in his opinion, almost any game can be fun if you look at it the right way.
In his free time, he likes to (obviously) play more games, spend time with his family, theorycraft about various media with his wife, and watch anime. So yes, he’s a complete nerd, even if he’ll never admit it.
