Making a video game sounds like a fun thing to do, right? And while that might be true technically, it can also be very overwhelming if you don’t know how to approach it properly. You need to be completely aware of every step before you start working on making a game. Game development might seem like magic, but it’s really just a mix of creativity, caffeine, and a whole lot of trial and error.
So, if you want to know where to begin, I’m here to simplify things for you. I’ll go over the tools you need, the steps to take, and how to actually finish something (the hardest part, trust me). You don’t need an expensive degree or an AAA studio — just a decent idea, and a willingness to invest lots of time and effort. Let’s get into it!
Choosing an engine
Before you start designing your protagonist or drawing cool pixel art, you need to pick a game engine. Think of it as your game’s skeleton, brain, and muscle all rolled into one. It handles how things move, collide, look, sound, and basically exist. It’s the thing you’ll be staring at for hours, so you want something that won’t make you want to throw your monitor.
There’s no perfect engine. Just the one that fits you, your project, and your patience level. Some are great for 2D. Some are built for jaw-dropping 3D.
Here’s a breakdown of the best options for you:
Unity
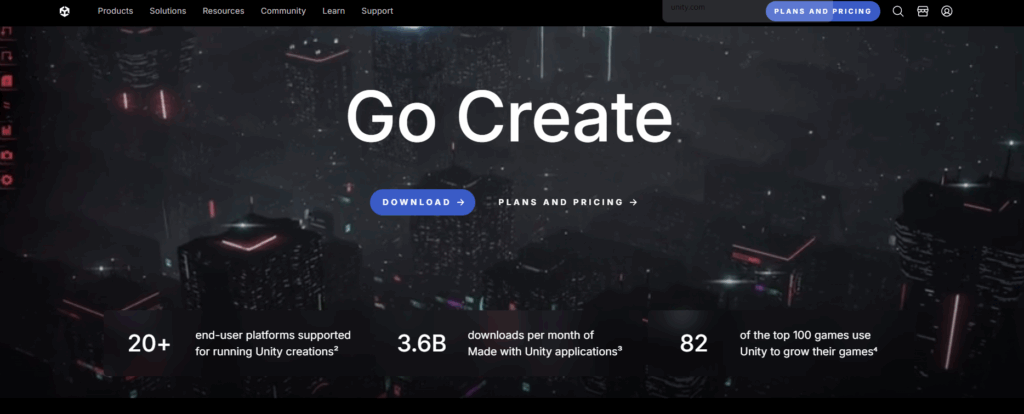
Unity is the go-to engine for a reason. It powers everything from tiny mobile games to big indie hits. You can make 2D platformers, 3D shooters, puzzle games, VR stuff, you name it. It uses C#, which is a decent programming language to learn even outside of games. It’s great if you want flexibility and are ready to learn a bit of real coding. Once you get comfortable, Unity can take you pretty far.
Pros:
- Tons of tutorials
- Giant community (aka someone else has already asked your weird question)
- Asset Store full of free art, tools, and code
Cons:
- Can get bloated if your project is small
- The UI can feel overwhelming at first
Unreal Engine
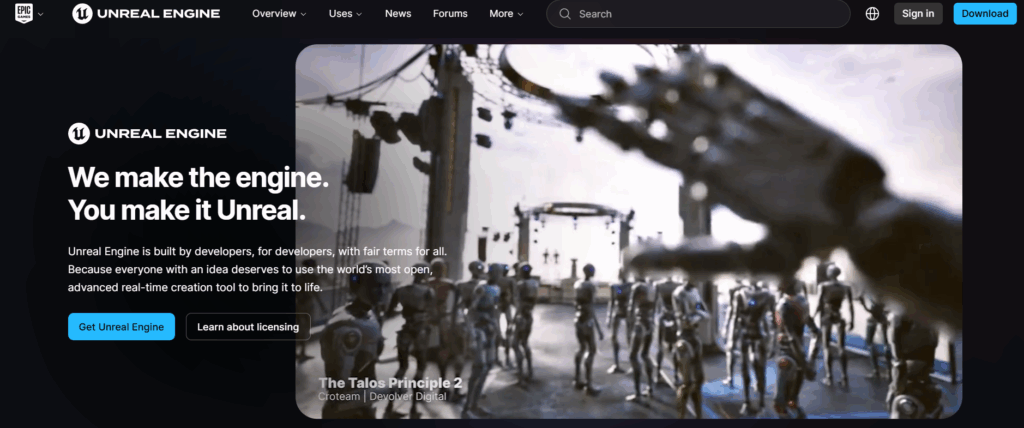
Unreal is the beast when it comes to making a game. It’s what AAA studios use for big-budget games. It leans more toward 3D than 2D, but you can do both. Unreal uses Blueprints, a visual scripting system that lets you make logic without writing much code.
Pros:
- Stunning graphics right out of the box
- Blueprint system is great for non-coders
- Free to use until you hit revenue milestones
Cons:
- Steeper learning curve
- A bit overkill for small, simple projects
Go with Unreal if your dream game is a slick, cinematic 3D adventure and you want visual scripting to help get there.
Godot
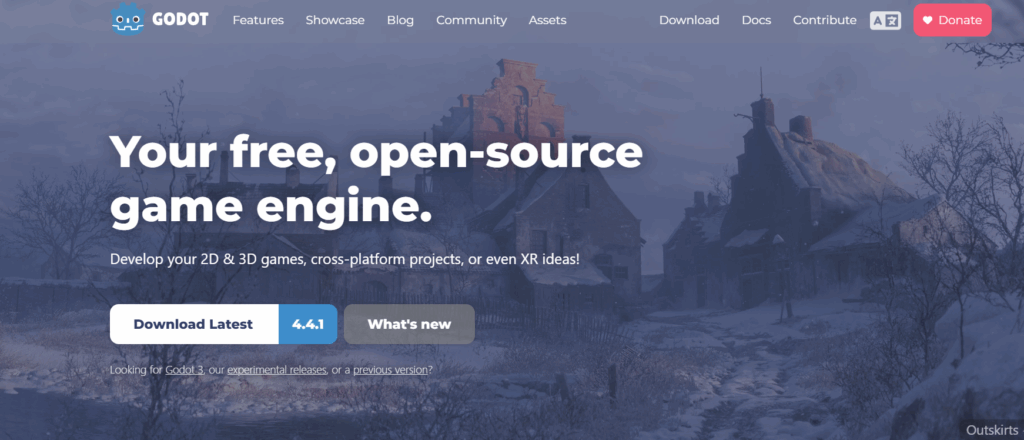
Godot is like that quiet genius in the corner. It’s open-source, lightweight, and surprisingly powerful, especially when it comes to 2D games. It uses GDScript, a Python-like language that’s easy to pick up, and its UI is beginner-friendly.
Pros:
- Great for 2D
- Super fast to prototype with
- Free forever, no weird license stuff
Cons:
- Smaller community than Unity/Unreal
- Some tools feel a bit “in progress”
Perfect for first-time devs, especially if you’re into pixel art, platformers, or making games that don’t need ultra-HD explosions.
GameMaker
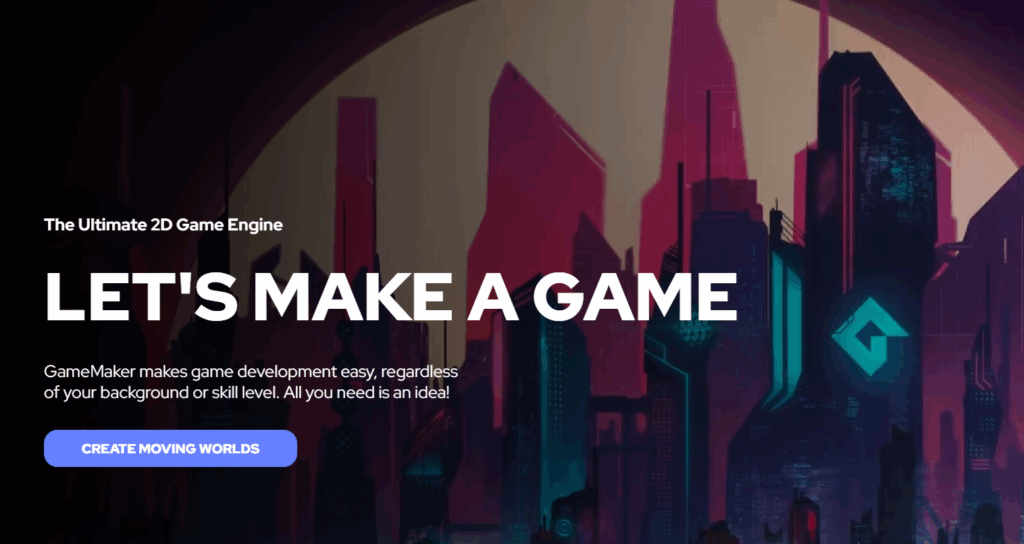
GameMaker is all about making 2D games quickly, without too much technical setup. You can use drag-and-drop features or dive into GameMaker Language (GML), which is simple and beginner-friendly.
Pros:
- Very friendly for non-coders
- Fast to build working prototypes
- Clean, focused UI
Cons:
- Not ideal for 3D
- Some features locked behind paid versions
A solid pick if you want to skip the heavy lifting and get straight to designing levels, characters, and gameplay.
RPG Maker
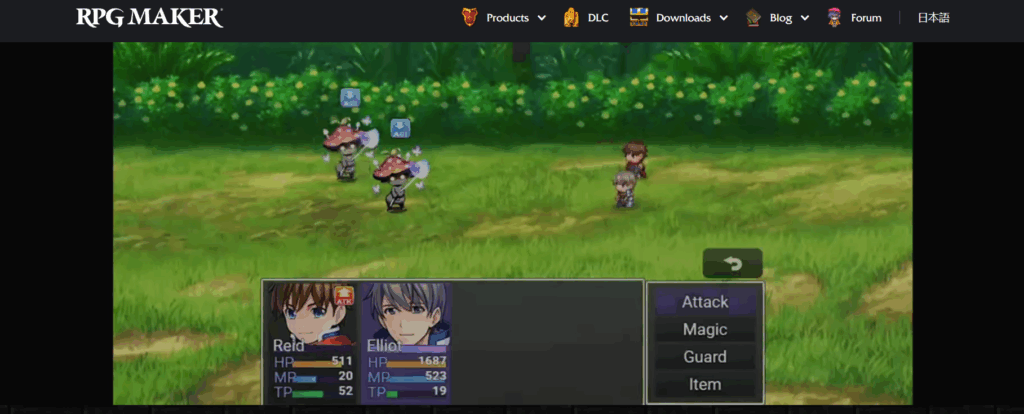
RPG Maker is basically plug-and-play. It’s loaded with built-in assets and mechanics for making classic JRPG-style games: maps, battles, items, dialogue—you just slot things together.
Pros:
- No coding required
- Built-in tilemaps, menus, and combat systems
- Super easy to test and tweak
Cons:
- Not very customizable unless you learn scripting
- Pretty much locked to the JRPG format
It’s very niche—but if that’s your niche, it’s the easiest way to start making full games without touching a line of code.
Find Learning Material

Now that you’ve picked a game engine or at least stared at three of them for an hour, it’s time to actually learn how to use it. Here’s the good news: the internet is absolutely filled with tutorials, forums, courses, and devlogs. The bad news: 80% of it is either outdated, confusing, or assumes you already have a PhD in code.
So here’s how to find resources that are actually helpful:
YouTube Tutorials (The Free Goldmine)
YouTube is a great place to start your journey. You can find full beginner series, bite-sized tips, and “I made a game in 10 days” videos that’ll inspire and depress you at the same time. I know what you’re thinking, “Youtube isn’t only for silly videos?”. I know right, it can be used to learn new things. Here are some tips:
- Search smart — Use exact engine names + keywords like “Beginner tutorial Unity 2025” or “Godot 4 2D game tutorial.”
- Look for full playlists — One-off tutorials are fine, but a full project series (like building a basic game from scratch) is way more useful. You’ll learn more this way.
- Check comments and upload dates — If it’s from 2015 and/or has a bunch of “doesn’t work anymore” comments, just skip it. Try finding newer, more up to date guides.
Bonus tip: Try following devs who explain why they do things, not just how. In the long run, it’s the best way to learn stuff. Don’t just follow blindly.
Online Courses
If you’re the type who needs a clear path instead of falling down random YouTube rabbit holes, online courses are your friend. Yeah, most of them cost money but a lot are cheap, and sometimes you just want someone to walk you through it all without ads every five minutes. Most of those courses have an abundance of files and other resources that will help you.
- Udemy – Constantly on sale. Solid beginner courses for Unity, Unreal, Godot, GameMaker, etc.
- Coursera & edX – More academic, but there are free game design fundamentals if you want to learn some theory too.
- Gamedev.tv – It’s a great platform with practical tutorials.
Look for: beginner-friendly pacing, project-based learning, recent uploads, and active community support. That’s the best way to start.
Official Docs & Learn Hubs (Boring But Actually Useful)
Yes, documentation can feel like reading IKEA instructions but when you get stuck, it’s often the only place with the actual answer.
Most engines have their own learning portal, too:
- Unity Learn – Official tutorials, microgames, and beginner projects
- Unreal Online Learning – Free and solid for both Blueprints and C++
- Godot Docs + Devlog Tutorials – Clean and actually understandable
- GameMaker Manual – More helpful than it looks, especially if you already know the basics
Pro tip: Combine docs with video tutorials. Watch someone do it, then look it up and tweak it yourself.
Join Game Dev Communities (You’re Gonna Need Backup)
Game dev journey is way less lonely (and frustrating) when you’ve got people to vent to or ask dumb questions. Join online communities to get feedback, find solutions, or just see what other devs are struggling with. Here are some of best places to start:
- Reddit – r/gamedev, r/Unity2D, r/godot, etc.
- Discord servers – Most game engines have active Discords where devs help each other.
- Devlog YouTubers & Twitter/X posts – Following a few indie devs can show you what the process really looks like.
- Itch.io community boards – Great for beginners and jam-friendly devs.
Don’t be afraid to post. Every pro dev once asked “how do I make this specific item work?”. To be fair though, most likely whatever question you have in mind, somebody already asked it at least once. So make sure to search it up before asking.
Design
Once you go through enough learning materials and you’ve gathered some basic knowledge about game development, it’s time for the next step. Here’s the deal: your first game won’t be your magnum opus. It won’t change the industry. It might barely function. And that’s exactly what it should be.
The goal right now isn’t to make something epic, it’s to finish anything.
Why Starting Small Actually Works
Big ideas are fun. But if you try to jump straight into building an open-world RPG with crafting, voice acting, and 60 hours of content… you’ll burn out before your main menu loads and you’ll just end up frustrated which might lead to you quitting it altogether. Game dev is like being a character in any game, you start at level 1 and then you gain experience, level-up and get stronger.
Focus on a tiny, playable, self-contained game. Something like a basic 2D platformer with one level. It might sound boring, but making even that work will teach you a ton: input, movement, menus, logic, level flow, UI… all the stuff big games are made of, just smaller.
And in order to make sure you finish it, you’ve gotta be honest with yourself.
Ask yourself:
Can I finish this in a week or two?
Does it only need 1–2 mechanics?
Will I actually finish it, or endlessly polish?
If the answer is “maybe,” trim more. If the answer is “absolutely,” you’re in a good place.
Use assets
Don’t spend a week designing one menu or a button. There’re tons of free materials online that you can use in your game to make your job easier. There’s no shame in that.
Learn by fixing errors
If something is guaranteed to happen then it’s that you’ll hit errors. Stuff won’t move right. Enemies will fall through the floor. You’ll get stressed. Welcome to game development.
But now you’ve got tools, communities, and tutorials to fix things. Every bug you squash teaches you something you’ll use again and again. And by doing that, you’ll be on a road of becoming an exceptional game dev.
Rinse and Repeat
You made your first game. It works. Kind of. Good job! Now, before moving on to the next step, I suggest making a few more small games. Again, keep it simple. Look at it as buying a house, car or anything in life. You wouldn’t buy the first thing you come across. You do the research, look at a few examples, test them, think more about it, and finally you make a decision. So this shouldn’t be any different. Give yourself an opportunity to see what’s possible. Once you do, you’ll have a clearer picture of what sort of game you want to make.
Polish the Experience – Make It Feel Like a Real Game
Now, you’ve gained a little experience and you have a clearer picture of your journey. It’s time to take that one rough prototype and start turning it into something that actually feels good to play. Because here’s the secret: most games aren’t fun just because of graphics or deep lore, it’s also because they’re smooth, responsive, and satisfying.
This is where polish comes in.
Add Sound (Seriously, Even a Click Sound Helps)
A game with no sound feels empty. Even basic beeps and boops can transform how your game plays. You don’t need a full soundtrack.
Start simple: Jump sound here and there, enemy hit sound, a few button clicked sounds, and you’re golden.
There are tons of free sound libraries online, or you can make your own goofy mouth noises. Whatever you imagine.
Bonus: Add background music. Even a 30-second loop can set the mood. You can find so many songs/sounds/music that are copyright free.
Improve Visual Feedback
I’m not saying you need AAA graphics, but you do want your game to feel alive. Every small improvement can help.
If you don’t know what, here are some things to try:
- Add screen shake on impact
- Some sort of effect for enemies when they take damage
- Animate buttons and menus (hover effects, clicks)
- Use particle effects (sparks, dust, explosions)
- Or whatever silly thing comes to your brilliant mind
These little touches make everything feel snappier and more responsive, even if you’re still using stick figures.
Smooth Out Controls and UX
Another trait of a great developer is making sure your player should never be fighting the controls. Take time to make the game feel tight:
- Tweak movement speed, jump height, camera shake
- Add input buffering for smoother jumps
- Test menus, can you navigate them without guessing?
The best thing to do is to watch someone else play your game without helping them. If they’re confused, frustrated, or hitting the wrong buttons, it’s your sign to make some improvements.
Polish Your UI
So you made your game playable (Good job), now it’s the perfect time to focus on UI. Menus, score counters, health bars matter more than you think.
Make sure that the text is readable, buttons look like buttons, everything reacts when you hover/click, etc. Don’t forget that clean UI = players don’t get annoyed before they even start playing.
Playtest, Tweak, Repeat
Polishing a game isn’t something you do once, it’s an endless loop:
Play it yourself > Fix the weird stuff > Let someone else try > Watch what breaks > Repeat
You don’t need perfection, just playability. You’ll start seeing what makes games feel good instead of just looking good. In a gaming world, there’s no such thing as a perfect product/game. There’ll always be something to fix/improve. And if you remember that, you’ll be on a path to be better than 90 % of game devs.
Publish
You’ve built it. Debugged it. You’ve polished it just enough that it doesn’t hurt to look at. Now it’s time to do what 90% of beginner devs don’t — actually finish it and put it out there.
Doesn’t have to be on Steam. Doesn’t have to be perfect. Just ship it.
Pick Where to Publish
Depending on your engine, your game might already be exportable to a bunch of platforms. Start simple:
For web-based games:
- Itch.io: Free, easy, indie-friendly. Perfect place to host your first game and get feedback.
For desktop games:
- Itch.io still works
- Game Jolt: Another indie platform with a solid dev community
- Export as .exe or .zip and share it with friends directly (Google Drive works too)
Made something in Roblox or similar? Just publish it in-platform and start sharing the link.
Make It Look Presentable
You don’t need marketing skills, just give your game a decent first impression:
- Name it something fun or descriptive
- Add a few screenshots or even short gameplay showcase video
- Write a short, honest description of what the game is and how to play it
You’ll sound more pro than 90% of first-time uploads.
Share It Somewhere
You don’t need a huge following. Just get it in front of people who might enjoy playing it.
- Share with friends or Discord groups
- Post on Reddit subs like r/IndieDev, r/gamedev, or r/PlayMyGame
- Join a game jams and upload as your entry
You might get feedback. You might get nothing. Either way: you finished a game. That already puts you ahead of most people who started this journey.
Now Do It Again (But Slightly Bigger)
Congrats, you’ve made your first proper game! Next step? Make another one.
Use what you learned. Try something a bit bigger. Add a new mechanic. Change the genre. Keep going.
Game development is all about building the skills and confidence to keep creating.
And who knows? One of these might actually pop off.
Strategize
One last thing to know before you start your big project. It’s important to know how to plan before making the game. Developing a comprehensive strategy for tracking ideas/progress/tasks/marketing is a great skill to have. So make sure to plan thoroughly before proceeding.
Also, be aware of your skillset and if you can’t do it alone, find a team. There are a ton of people who’re probably in the same pickle as you. Finding someone who has a skillset that you lack shouldn’t be as challenging as you think. Don’t be afraid to reach out, this could be your origin story.
Final Words of Wisdom
If you’ve made it this far, you’re already doing more than most people who say they want to make games. You’ve got the tools, the roadmap, and (hopefully) a bit of inspiration to just start building.
It won’t be perfect. It won’t always be fun. But if you stick with it, you’ll come out with something that’s 100% yours. That feeling? It never gets old.
So open up that engine. Drop in a cube. Make it move. That’s how every great game starts.
I really hope that this guide helped you start your journey and who knows, maybe one day I’ll have the honor of testing/reviewing your game.
Good luck!

Leave a Reply